Single Garments
Single Garments
Getting Started
Creating single garments means that the users will be able to combine them as modular assets.
Garment Types
The first thing you have to do when creating a garment is to choose between one of the available categories:
- Accesories: every asset located over the head. Examples: glasses, headphones.
- Top garment: everything that goes in the superior part of the half of the avatar. Examples: hoodies, shirts.
- Bottom garment: everything that goes in the inferior part of the half of the avatar. Examples: pants, skirts.
- Shoes: everything that goes in the feet of the avatar. Examples: sneakers, sandals.
Download our Base Bodies or Blender Add-on
To get started with the model, please download our base bodies (female and male) or, if you use Blender, install the add-on. You should adapt your model to Union Avatars´s body.
Please ensure that you are using Blender version 3.6 or earlier for this project. Using a version later than 3.6 may result in compatibility issues with the provided files and scripts.
3D Mesh and Polycount Requirements
Polygon (triangles) limits:
- Top: around 4k polygons. Never more than 5k.
- Bottom: around 2k polygons. Never more than 3k.
- Shoes: around 2k polygons. Never more than 3k.
- Accessories: around 2k polygons. Never more than 3k.
Union Avatars use low-poly assets, optimized for real time platforms. Please ensure to create outfits with a clean topology and don't exceed the maximum polycount.
For detailed information on how to create the model, please check our 3D Model Documentation.
Textures and Materials
For detailed information on how to create the textures and materials, please check our Textures and Materials Documentation.
Rigging and Skinning
For detailed information on how to do the rigging and skinning, please check our Rigging/Skinning Documentation.
Garment Metadata
To tell our system how to combine diferent garments and body parts, we use an extra file in json format. This file contains all the information required to be able to use your garment. Find all the information on how to create the metadata for your design in the Garment Metadata Documentation.
Garment Rules
If you create individual assets, they might be comptatible with other garments. Since our users can choose an almost infinite number of combinations of different garments to use in their avatars, we have to make sure that they are not going to break or collide. Please review this rules in the Collision Test Documentation.
It is very important to follow this rules. Otherwise your garment will not be compatible with our system and we will not be able to add it.
What do we expect to receive?
Deliverables
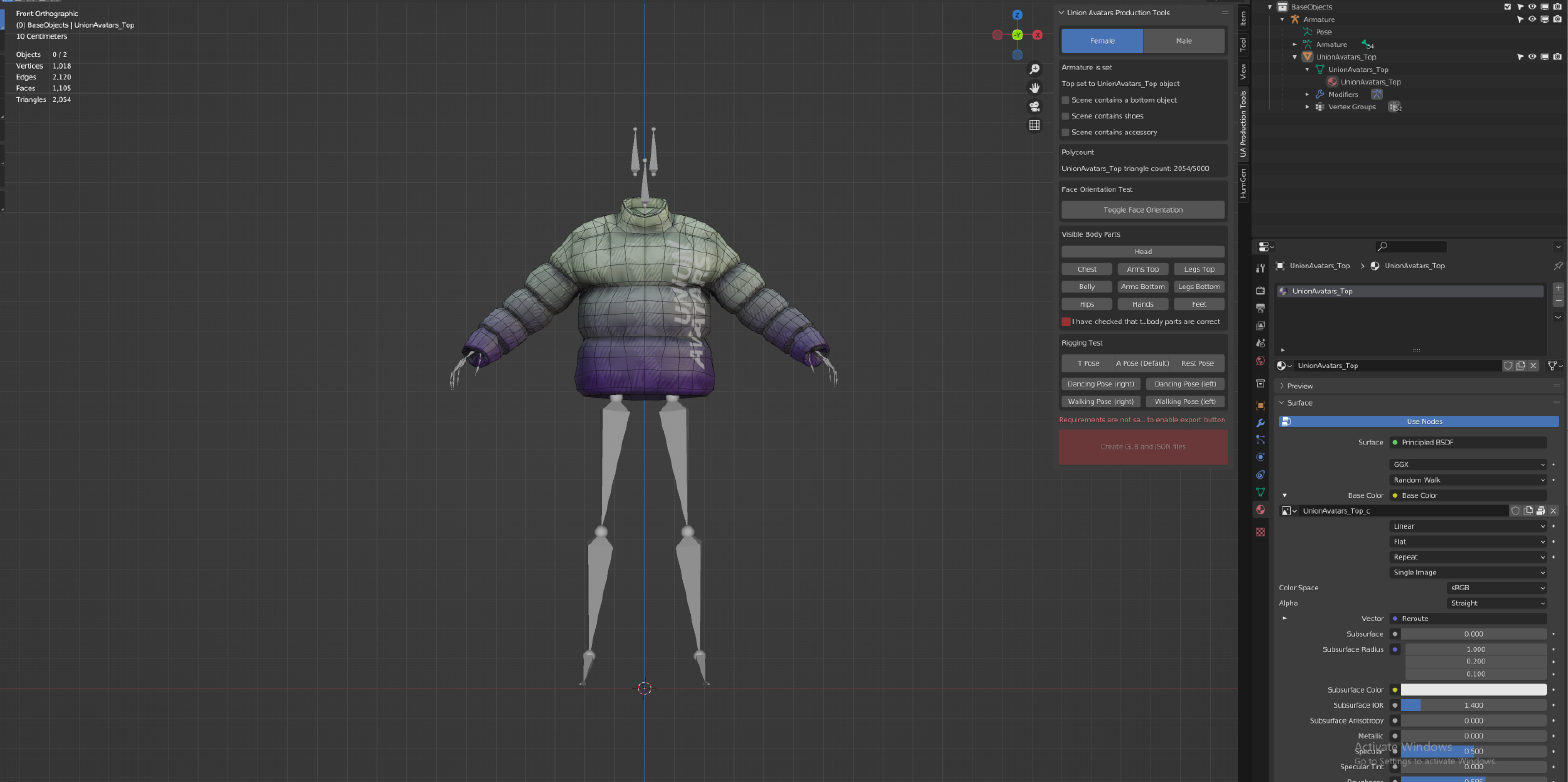
To export the final outfit, please validate your assets with the Blender add-on.
For detailed information to intall the Blender add-on, please check our Blender Add-on Documentation.
Files for Union Avatars
Once your garment is ready and validated, you should have as an output the following files:

- Blend file: a file containing the garment and the armature.
- Glb file: a glb export of the previous file ( please add draco compression setting).
- Json file: a file containing the garment's metadata.
Naming convention
The files should have the following name:
version_style_gender_Company_GarmentDescription
- Version: is the version of the body you will be using. v4 ( for realistic style), v1 (for cartoon style).
- Style: is the type of the avatar, could be phr (stands for realistic.) or crt (stands for cartoon).
- Gender: either “female” or “male”
- Company: the name of your company.
- Garment Description: you can follow the naming convention guidelines.
Extra meshes should not be added. Garments made of multiple pieces should be joined together or separated by categories accessories, top, bottom or shoes.