Installation
Updating from old versions <1.0.0
The version 1.0.0 introduces breaking changes to the SDK which might break some of the compatibility with older versions. To know which changes are being made, please refer to the Changelog.
Before importing the new SDK you MUST delete the following folders in your project:
- Plugins/GLTFUtility
- Plugins/NativeFilePicker
- Plugins/NewtonsoftJson
- Plugins/StandaloneFileBrowser
- Plugins/UnionAvatars
- Plugins/WebGL/UnionAvatarsIFrame.jslib
- Plugins/WebGLTemplates/Union Avatars
Import the SDK
Once you downloaded the SDK it's as simple as Drag and Drop it into your Unity Project.
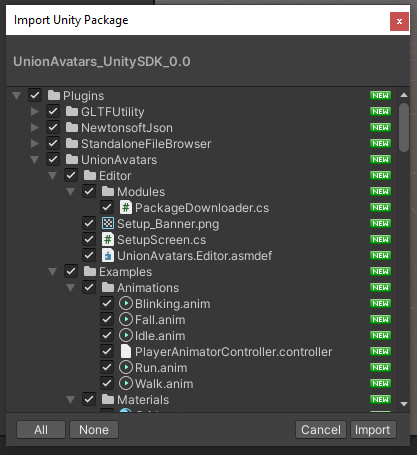
It is recommended not to change the default settings unless you know what you are doing.
This might take up to a few minutes since Unity needs to install all the required dependencies
The SDK Project Window
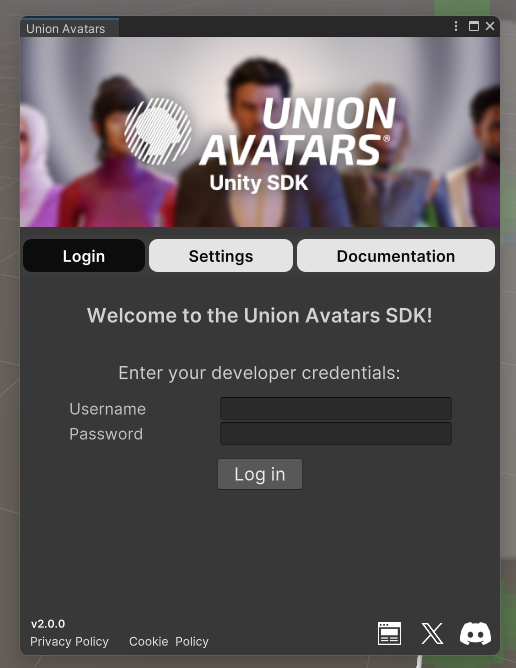
When you import the SDK for the first time a new window will appear in your screen. We use this window to display some useful information such as the version, change settings and generate API keys.
You can find this window anytime at the top-bar:
Union Avatars → Project Setup
SDK Settings

- Asset cache: Enables caches for avatars, assets and thumbnails, making loading speed increase at the cost of storage usage
- Mesh Optimization: Enables glb optimization when creating an avatar, which reduces its download size (may decrease visual quality)
- Avatar LOD: Enables level of detail generation for newly created avatars
- Max LOD: If LOD is enabled, sets the highest level of detail to load (0 = Highest Quality, 3 = Lowest)